What's in a Cap Tech-Pack: A Specification Template for Buyers (2026 Update)
What's in a Cap Tech-Pack: A Specification Template for Buyers (2026 Update) is one of the most-asked questions we receive from international buyers, and for good reason. With dozens of factories competing for your order and an alphabet soup of technical terms in every supplier quote, even experienced importers can feel lost. This guide consolidates what we have learned producing custom hats for clients in 40+ countries.
Why a tech-pack saves you weeks of email back-and-forth
Most lost time comes from decisions the factory should not be making for you. If a buyer sends only an AI logo and a reference photo, the team has to guess fundamentals that change fit, cost, and setup on day one: structured front with 1.8 mm hard buckram or soft unstructured crown, 55 cm sample size or 58 cm, low-profile 8.5 cm crown height or a 9.5 cm deeper fit, 4 mm visor stitch pitch or 8 mm, virgin PP snapback or recycled PE strap, cotton twill sweatband or 180 gsm wicking polyester. A usable cap tech pack template eliminates those assumptions before the merchandiser opens a BOM. Without it, pattern making cannot lock panel geometry, the digitizer cannot set underlay or pull compensation for a 3D puff logo, and the sewing line cannot balance operations because no one knows whether the front panel needs fusing, seam taping, or a pre-curved PE visor insert. "Match the sample" sounds simple, but on a factory floor it usually creates three interpretations and at least one remake.
A complete cap tech pack template typically cuts sampling on a standard 6-panel baseball cap from 12-14 calendar days to about 6-8 because it lets each department work from fixed data instead of email clarifications. The useful packs specify crown height, visor length and radius, seam allowance, eyelet position, fabric content and gsm, closure spec, logo size in millimeters, Pantone TCX references for dyed components, and decoration method by location. Our standard practice is to lock tolerances early: crown height +/-3 mm, visor length +/-2 mm, logo placement +/-1.5 mm, and fabric shade within Delta-E 1.5-2.0 against the approved lab dip. Once those numbers are on the sheet, purchasing can source the right 10x10 cotton twill or 600D poly mesh, the embroidery room can choose Tajima cap frame versus flat frame, and QC can build checkpoints around AQL 2.5 instead of subjective comments. That usually reduces revisions from three rounds to one: "move rear embroidery up 8 mm" is executable; "make the shape better" just burns another week, another DHL charge, and another sample fee.
The seven sections of a complete cap tech-pack
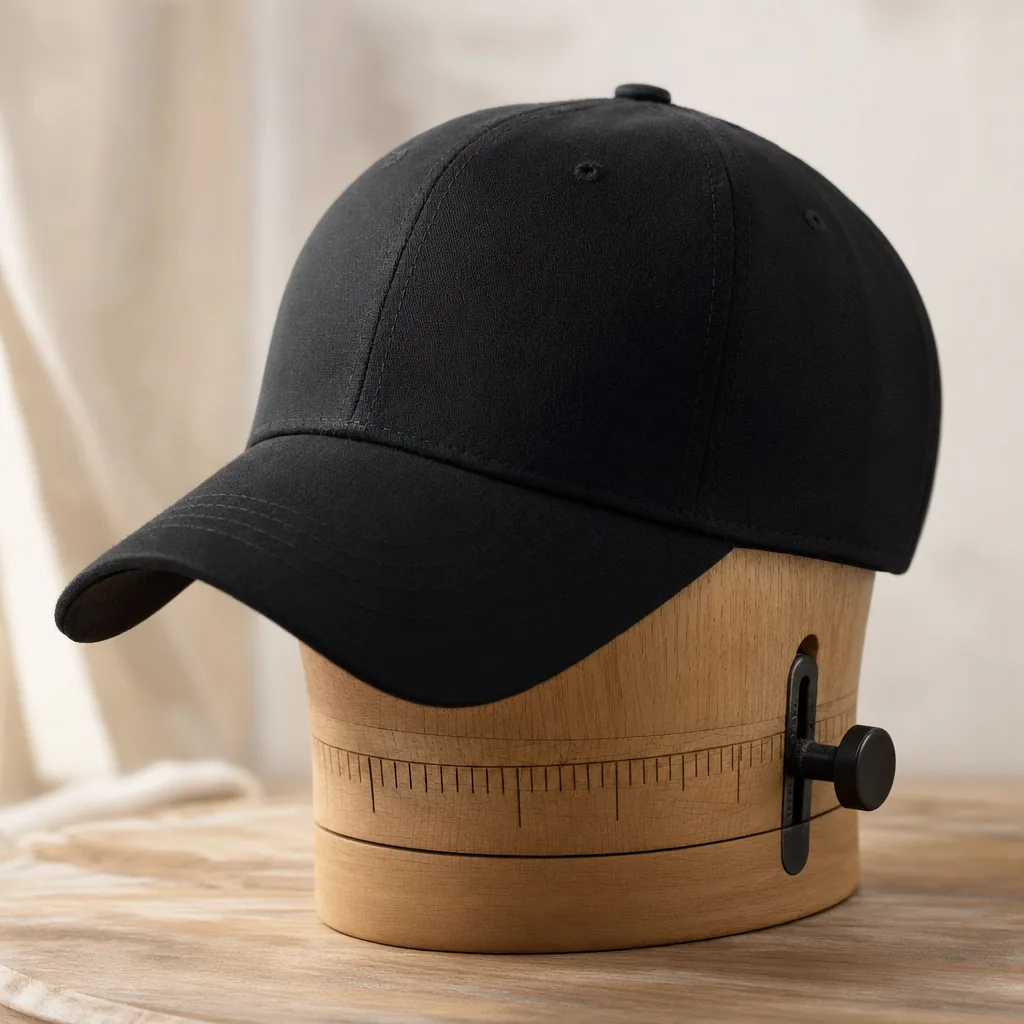
The sketch page carries most of the production risk because the sewing line will follow the drawing and fill every blank with its own standard. A practical cap tech pack template should show six views—front, left, right, back, top, and inside—with dimensioned callouts in millimeters for panel count, crown profile, visor curvature, eyelet spacing, seam tape width, closure construction, and top button size. For a standard adult 6-panel cap, I’d expect crown height around 165 mm, visor length 72 mm, visor width 185 mm, and a closure-based head circumference range such as 56-60 cm instead of the useless “OSFM.” Tolerances need to be written, not assumed: ±3 mm on visor length, ±2 mm on top button diameter, ±5 mm on strap length, and ±3 mm on sweatband width. Detail blowups matter most on failure points—rope placement 5-7 mm above the visor seam, sandwich brim contrast width at 3-4 mm, underbill print registration, or alignment across split front panels and camouflage layouts. Materials and color have to be locked before sampling, or the factory starts solving your spec with whatever is sitting in stock. List exact fiber content, construction, and weight: 100% cotton twill 260 gsm, brushed chino twill 280 gsm, recycled polyester canvas 320 gsm, or 210D nylon with PU coating, plus front-panel support as hard buckram, soft buckram, or fully unstructured. Color should be assigned by component, not by mood board: shell, underbill, sweatband, seam tape, closure strap, embroidery thread, patch border, and woven labels, using Pantone TCX for dyed textiles and Pantone Solid Coated for printed elements. If shade matters, state a target such as Delta-E ≤1.5 on shell fabric and ≤2.0 on trims. Decoration specs should name logo size, placement from seam lines, stitch count range, backing, thread finish, and patch edge type. For embroidery running on Tajima, Barudan, or ZSK heads, anything under roughly 1.0-1.2 mm satin width or very small copy should be flagged before digitizing, because that is exactly where first samples start collapsing.
Construction, labeling, and packaging are where a design file becomes a production document. Write the build in factory language: 6-panel structured crown, 1/4 inch seam allowance, double-needle center-front seam, 6-row visor stitching, 25 mm cotton twill sweatband, 20 mm seam tape, embroidered or metal eyelets, PE visor board, and closure hardware specified down to finish—black matte, nickel, or antique brass. “Premium cap” is meaningless on the floor; “self-fabric strap with antique brass slider, tuck-in slot, 120-140 gsm polyester mesh back, 3 mm EVA foam front” is actionable. This section is also where you call out underbill fabric, snap color, trucker foam thickness, post-press crown shaping, and whether the cap ships flat-packed or pre-curved. Inspection arguments usually start because labeling and packing were treated as an afterthought. A complete cap tech pack template should define main label placement at the back opening, care label content including fiber composition and country of origin, barcode format such as EAN-13 or Code 128, and attachment method—heat transfer, sew-in, kimble gun, or cotton string hangtag. Packaging needs numbers: shaper insert yes or no, tissue type, individual polybag thickness at 0.03-0.05 mm, carton pack ratio, units per master carton, master carton dimensions, and a gross-weight ceiling that keeps cartons under about 15 kg for easier handling. At CrownsForge, these details are what make AQL 2.5 inspections clean: measurements, label placement, assortment, and carton marks can be checked against a written standard instead of debated after the goods are already packed.
Tech sketches: front, side, back, optional underbrim
The sketch page is the control document in any cap tech pack template; if the geometry is vague, the factory will default to its house block. Provide vector line art, not photos, for front, back, left side, right side when asymmetrical, and an underbrim view whenever the underside differs in fabric, color, print, or seam finish. Build it in Adobe Illustrator or CorelDRAW at 1:1 or a clearly stated scale, then draw every construction line that affects patterning: center-front seam, panel breaks, eyelet positions, top button, sweatband edge, closure opening, seam tape path, and visor profile. For a structured 6-panel snapback, show buckram-backed front panels and the exact bill silhouette; for a 5-panel camp cap, specify front panel width, side-panel angle, and crown slope, because a 3-4 mm shift at the front panel can materially change fit and logo presentation. Annotate the sketch anywhere appearance can drift in production. Call out single-needle vs. double-needle topstitching, stitch count on the visor such as 6 or 8 rows at 4-5 mm pitch, sandwich bill insert width in millimeters, and eyelet type: stitched eyelet, metal grommet, or laser-cut vent with mesh backing. Dimension artwork from fixed references like the center-front seam, visor seam, or panel edge; “visually centered” is how embroidery ends up 4 mm off after blocking on a curved crown. Also mark grain, wale, or stripe direction on brushed cotton twill, 14-wale corduroy, denim, or engineered plaids. Nap direction alone can create an apparent shade shift beyond Delta-E 1.5 under D65 lighting even when the fabric lot is correct.
Put finished measurements directly on the sketch with arrows, units, and tolerances instead of burying them in a note block. At minimum, mark crown height, visor length from center-front seam to tip, visor width at widest point, back opening width, sweatband circumference, closure strap length, and logo placement offsets. Practical production tolerances are usually ±3 mm for trim placement and ±5 mm for finished body dimensions; anything tighter should be flagged as critical-to-quality and checked under AQL 2.5. Curved visors are the usual trap: “pre-curved” means nothing on a factory floor. If you need a specific silhouette, specify a target curve radius or approve against a sealed sample, because different pressing molds and board thicknesses will change the profile even with the same outer fabric. Underbrim details deserve their own view because they affect both cost and retail appearance. Specify the exact material and color: self fabric 260 gsm cotton twill, black 65/35 poly-cotton, printed satin, or vintage green satin, plus whether the edge is turned, bound, or raw-hidden inside the visor seam. If the style uses a sandwich bill, state the insert color by Pantone TCX or coated reference and the exposed width, such as 2.5 mm or 3.0 mm. A good cap tech pack template also separates finished dimensions from pattern dimensions, especially on structured crowns where 0.5 mm buckram, seam turn-in, and foam lamination can shift the final size by 3-5 mm. Our standard practice is to put a revision code and date on every sketch page, because one visor or crown change can cascade into new cutting dies, embroidery centering, and carton specs.
Fabric and color spec: GSM, weave, Pantone references
Fabric errors get baked in before cutting, so the cap tech pack template needs to read like a purchase spec, not a mood board. “Cotton twill” tells a mill almost nothing. Break it down by component: crown and front panels, 100% cotton brushed twill, 16s x 12s, 108 x 56, 3/1 twill, 260 gsm +/-5%, enzyme-washed; underbrim, 240-280 gsm cotton twill in a separate shade if you want lower glare; sweatband, 65/35 poly-cotton terry, 180-200 gsm; closure strap, 1.2 mm vegetable-tanned cowhide or 20 mm woven polyester tape. If the shape matters, specify the hidden structure too: hard buckram on the front two panels, soft fused backing on side and back panels, and 0.8 mm PE visor board. Those support materials determine crown height, visor memory, and hand feel as much as the shell fabric. Performance and wool styles need even tighter language because the substitution risk is higher. “Wool blend” should become 80/20 wool-poly melton, 400-420 gsm, brushed face, low-pilling requirement, with colorfastness and shrinkage limits stated. “Sports fabric” should become 100% recycled polyester, 75D or 150D, plain weave or micro-ripstop, 120-160 gsm, moisture-wicking finish, and minimum crocking performance of grade 4 dry/wet. Split specs wherever wear or fit changes: firmer front panels, softer rear panels, separate binding tape, different underbrim fabric. That is the level of detail that stops a supplier from swapping a 220 gsm twill for a 260 gsm twill and delivering a cap that collapses in sampling.
Color control usually fails because buyers approve from screens, not standards. In the cap tech pack template, call out the Pantone library, viewing condition, and tolerance for every dyed component. For textiles, use Pantone FHI TCX rather than coated print references, and approve against a physical swatch under D65 lighting. A useful spec line is: crown fabric, Pantone 19-4007 TCX, bulk shade Delta-E <=1.5 to sealed standard, no shade banding, no mill substitution without written approval. If the cap mixes shell fabric, underbrim, binding, and embroidery, define where color is judged: raw fabric, post-wash panel, or finished cap. Enzyme wash, sanding, heat setting, and pressing can all shift final shade enough to create visible mismatch at sewing. Thread needs its own color line because embroidery yarn does not reflect light like dyed fabric. Madeira Classic rayon, Gunold Poly, and polyester filament threads can all sit differently against the same Pantone target, especially on dark navy, black, and saturated red. The cleanest format is a line-by-line material table with supplier fabric code, Pantone TCX reference, finish, approved swatch date, and substitution rule. Our standard practice is to record shade checks at incoming inspection, inline, and final AQL 2.5, because color drift often appears only when contrast trims are sewn next to the body fabric. That paperwork is cheaper than remaking 3,000 caps because “navy” lands closer to royal blue under warehouse lighting.
Decoration spec: technique, placement, dimensions, color count
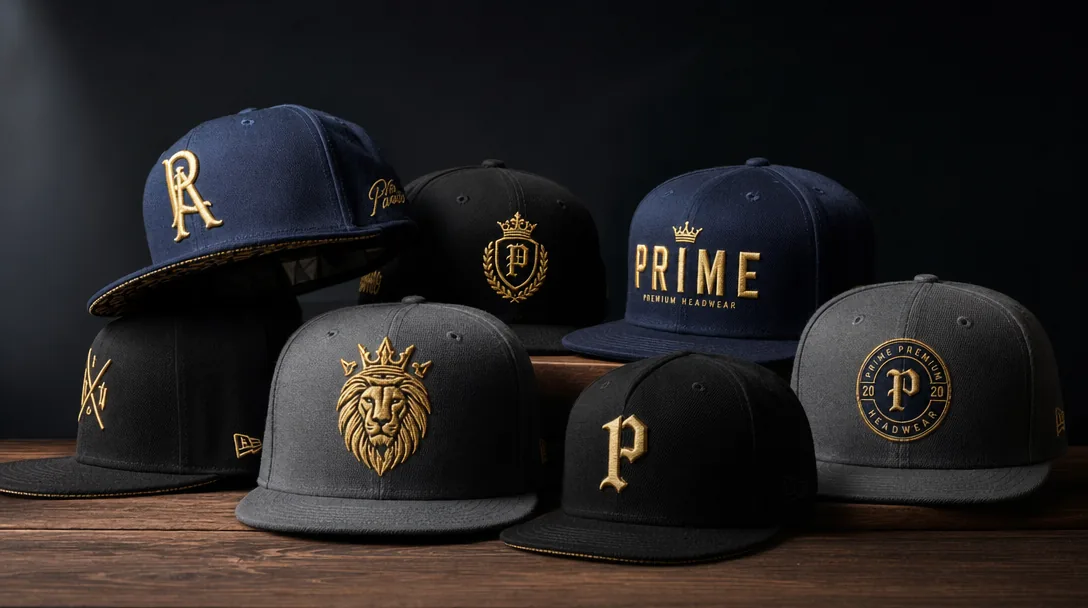
Decoration errors create dead stock faster than fabric issues, so the cap tech pack template needs four locked variables before sampling: technique, placement, finished dimensions, and approved color count. “Front logo embroidery” is not a spec. Call out the exact method: flat embroidery, 3D puff embroidery, woven patch, merrowed patch, laser-cut twill appliqué, TPU badge, silicone heat transfer, or screen print. Each has hard limits. For 3D puff, specify EVA foam at 2 mm or 3 mm, minimum satin column width of 1.5 mm, and no fine counters, sharp internal angles, or distressed edges; otherwise the foam shows through after trimming. Flat embroidery resolves cleaner detail, but copy under 4 mm letter height still needs digitizer approval. If a front graphic exceeds roughly 10,000-12,000 stitches on a structured 6-panel cotton twill crown, dense fill usually distorts around the center seam; a woven patch often gives a sharper result at lower reject risk. On Tajima or Barudan heads, structured fronts commonly sew best around 650-850 spm, because pushing faster can torque the crown and shift registration.
Placement should read like an inspection checkpoint, not a design note. “Front center” must define the datum, starting point, finished size, and tolerance: centered on front seam, bottom edge 15 mm above visor stitch line, finished size 50 mm W x 30 mm H, tolerance +/-2 mm. For side logos, specify left or right as worn and measure from a fixed reference such as the rear seam, bottom panel seam, or eyelet centerline; without that, two lines can vary by 6-8 mm and still claim compliance. Back decoration needs the same discipline: above arch opening, above snap closure, or on strap, with a max width that reflects the closure type. A practical cap tech pack template also notes panel constraints. On a 6-panel cap, the center seam can split small text and requires push-pull compensation in digitizing; on a 5-panel foam trucker, the uninterrupted front panel can usually carry a 90 mm-wide graphic cleanly. Lock color control the same way: embroidery thread to Pantone Solid Coated, dyed fabric to Pantone TCX, and any critical match approved against a thread card or lab dip with Delta-E under 1.5.
Packaging and label spec: polybag, hangtag, sticker, carton
Packaging is where a good cap tech pack template stops being design theater and starts preventing rework. Write this page like a packing SOP: polybag size in mm, resin, thickness in microns, venting, closure type, and insert requirements. For a standard adult 6-panel, 280 x 320 mm LDPE at 0.03-0.05 mm usually works; high-crown truckers, rope caps, and fitted flat brims often need 300 x 350 mm so the front panel is not crushed and the visor curve does not flatten in transit. If you want 1 pc/polybag, say it explicitly. If you need a flap bag, call out flap length and adhesive position; if heat-sealed, note whether bags must remain reclosable for inspection. Also specify whether crown tissue, a brim support, or inserted cardboard is mandatory, especially on buckram-front styles that fail compression first.
Hangtags and stickers need the same tolerance discipline as embroidery files and woven labels. Specify hangtag size, paper stock, finish, print method, hole diameter, barcode symbology, and attachment point. A reliable retail spec is 50 x 90 mm, 350 gsm C2S, matte lamination, 4C offset, 5 mm punch hole, and Code 128 or EAN-13 barcode with minimum 6 mm quiet zones. If brand color accuracy matters, list Pantone Solid Coated references and a print tolerance such as Delta-E below 2.0 under D65 lighting; otherwise suppliers will approve visually and every rerun will drift. For stickers, define diameter, face stock, adhesive grade, finish, and exact placement measured from the visor edge or crown seam. A 45-51 mm foil sticker is common, but washed cotton twill, brushed canvas, and peach-finish fabrics should be tested for adhesive shadowing, lift, or residue after 24-48 hours.
Carton details are where vague instructions turn into crushed crowns, split cases, and retailer chargebacks. State pack quantity, cap orientation, nesting ratio, carton dimensions, board construction, edge crush requirement, and gross-weight limit. For structured caps, 72 pcs per master carton is common, often around 60 x 45 x 58 cm, but the board spec matters more than the outer size: ask for 5-ply corrugated with at least 200 lb burst strength or 32 ECT, depending on the market standard. Keep carton GW under 15 kg; once factories push to 16-18 kg, deformation claims and handling damage rise fast. Shipping marks should be fully prescribed, not improvised: PO, style, color, size, qty, carton number sequence, country of origin, and any FNSKU, SSCC-18, or routing labels. Our standard practice is to inspect packaging under AQL 2.5, including barcode scanability, label position tolerance, carton drop resistance, and moisture protection before loading.
Frequently Asked Questions
What file format should I send for my logo?
Vector files (AI, EPS, PDF) are ideal. High-resolution PNG or JPG at 300 dpi on transparent background works as a fallback. Provide Pantone color references for accurate reproduction.
Can I order a sample before bulk production?
Yes. We strongly recommend approving a pre-production sample before mass production. Samples are charged at 35 to 60 USD each plus express shipping, fully refundable against confirmed bulk orders over 500 pieces.
How long does production take?
Sampling takes 7 to 12 days. Bulk production runs 20 to 30 days depending on quantity, fabric availability and decoration complexity. Inspection and packing adds another 3 to 5 days before shipment.
Which shipping methods do you support?
We support FOB, CIF and DDP shipping. Air express for samples and small orders, sea LCL for 100 to 500 pieces, sea FCL for 5,000+ pieces. Door-to-door DDP available for US, EU, UK, Canada and Australia.
What logo decoration techniques do you offer?
3D puff embroidery, flat embroidery, woven patch, leather patch, PVC patch, screen printing, sublimation, applique and laser etching, all in-house with no subcontracting.
How does ordering custom patch trucker hat work?
When evaluating custom patch trucker hat, the key considerations are construction quality, decoration capability, MOQ flexibility and lead time. Technique (3D puff / flat embroidery / patch), placement (front center, side, back), dimensions (e.g. 5cm wide × 3cm tall), stitch count if known, color count and Pantone references. Without a tech-pack, your factory invents details that contradict your assumptions. With one, sampling lead time drops from 14 days to 7 and revision rounds drop from 4 to 1.
How does ordering baseball cap custom work?
When evaluating baseball cap custom, the key considerations are construction quality, decoration capability, MOQ flexibility and lead time. Without a tech-pack, your factory invents details that contradict your assumptions. With one, sampling lead time drops from 14 days to 7 and revision rounds drop from 4 to 1. Tech sketches, fabric spec, color spec, decoration spec, construction spec (panels, closure, eyelets, sweatband), packaging spec, label/hangtag spec.
How does ordering custom baseball cap motorcycle helmet work?
When evaluating custom baseball cap motorcycle helmet, the key considerations are construction quality, decoration capability, MOQ flexibility and lead time. Without a tech-pack, your factory invents details that contradict your assumptions. With one, sampling lead time drops from 14 days to 7 and revision rounds drop from 4 to 1. Tech sketches, fabric spec, color spec, decoration spec, construction spec (panels, closure, eyelets, sweatband), packaging spec, label/hangtag spec.
How does ordering custom bucket hat embroidered work?
When evaluating custom bucket hat embroidered, the key considerations are construction quality, decoration capability, MOQ flexibility and lead time. Without a tech-pack, your factory invents details that contradict your assumptions. With one, sampling lead time drops from 14 days to 7 and revision rounds drop from 4 to 1. Tech sketches, fabric spec, color spec, decoration spec, construction spec (panels, closure, eyelets, sweatband), packaging spec, label/hangtag spec.
Need a low-MOQ test order?
We help emerging brands launch with as few as 100 pieces. Premium fabric, in-house embroidery, retail-ready packaging.
Start a small orderRelated guides
5 Panel Camp Cap Wholesale: A 2026 B2B Sourcing Guide
Read article →
How to Vet a China Hat Manufacturer Before You Wire the Deposit
Read article →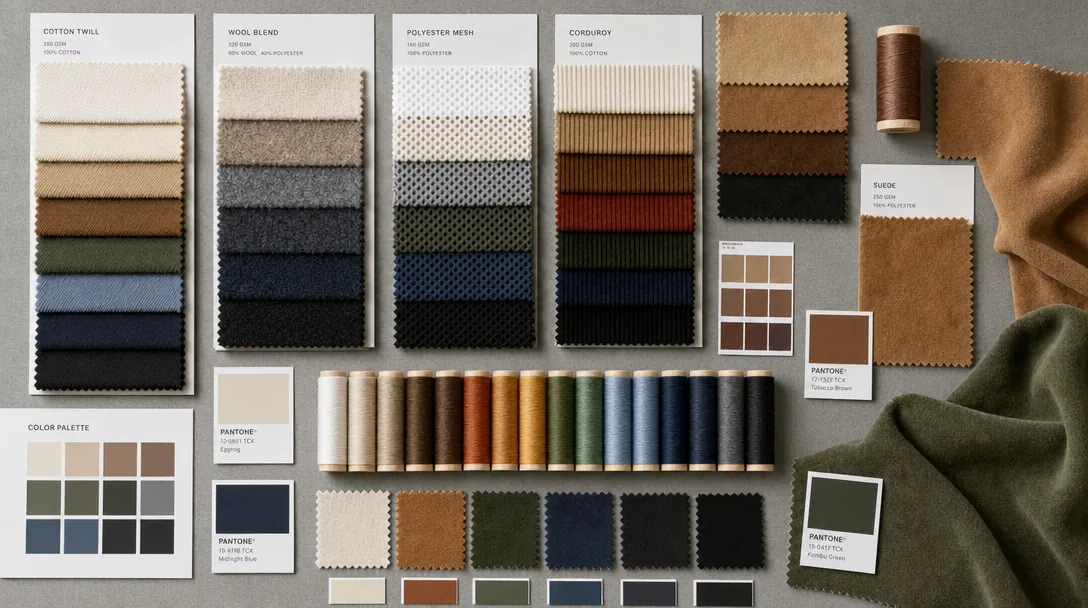
Cotton Twill Baseball Cap: Properties, Costs and How to Spec It Right
Read article →We hope this guide demystifies what's in a cap tech-pack: a specification template for buyers (2026 update) and helps you move forward with confidence. If you have questions specific to your project, our English-speaking sales engineers are one message away.