Cap Defect Catalog: 32 Production Issues to Inspect For - 2026 Buyer's Guide
Every week, our sales team answers detailed questions about cap defect catalog: 32 production issues to inspect for - 2026 buyer's guide. We wrote this guide so that wholesalers, streetwear brands, corporate buyers and promotional resellers can compare options with full information, and avoid the traps that show up only after production has started.
How to read this catalog
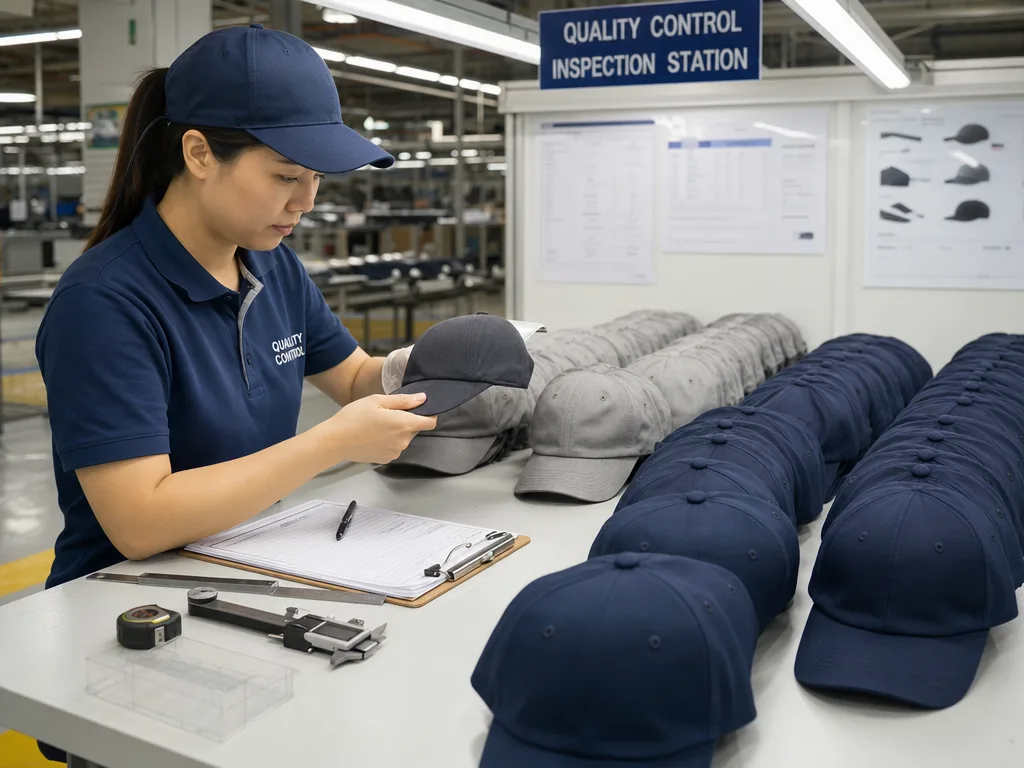
Classify by severity before you sort by cap part. In a working catalog of cap production defects, the first decision is critical, major, or minor under ANSI/ASQ Z1.4, General Inspection Level II; for most headwear programs, the lot is judged at AQL 2.5 unless the PO states tighter limits. Critical defects are automatic rejects because they create a safety, legal, or functional risk: broken needle fragments lodged in the crown, sharp burrs on a metal buckle, visible mildew, contamination inside the sweatband, or an incorrect fiber-content or care label for a regulated market. Major defects hit saleability or brand compliance: front embroidery off-center by more than 3 mm from center front, crown panels skewed enough to twist the silhouette, color variation above the approved standard—typically Delta-E over 1.5 to 2.0 against the lab dip or Pantone TCX reference—or a hook-and-loop closure sewn out of square so the cap cannot size properly. Minor defects still count, but with more tolerance: loose threads under 15 mm, slight press shine on dark brushed cotton twill, or a short bobbin tail buried inside the seam allowance.
Read the 32 defect types by construction zone, but verify them on physical samples under controlled light, ideally D65, not phone photos taken under mixed warehouse LEDs. Panel defects usually show up as slubs, seam puckering, needle cuts, crown height deviation, or panel mismatch; brim defects include visor board cracking, sandwich insertion drift, uneven topstitch spacing, binding irregularity, and poor left-right symmetry. Decoration defects need tighter scrutiny because they are easy to misread in pictures: embroidery registration errors, weak pull compensation, backing show-through, poor thread trimming, heat-transfer edge lift, and screen-print pinholes all look different once the cap is blocked and packed. On the factory floor, one problem often drives another. Low needle-thread tension on 10x10 cotton twill can cause seam grin, distort the front-panel face, and make a correctly cut visor appear crooked after attachment. Good inspectors do not just record the defect; they trace whether it is isolated, repeated on one sewing line, or systematic across a fabric lot, Tajima or Barudan embroidery run, or finishing batch. The right workflow is straightforward: confirm severity, compare against the sealed sample and tolerance sheet, note the likely process origin—cutting, sewing, embroidery, finishing, or packing—and decide on accept, rework, or reject.
Panel and crown defects (8 categories)
Panel and crown issues tell you very quickly whether the factory controls cutting, fusing, sewing, and inline QC as one process. The first four cap production defects that usually surface are stitch puckering, weave irregularity, panel shading, and premature pilling. Puckering on a structured 6-panel cap typically shows on the front seam after sewing because shell fabric, buckram, and fusible interlining shrink at different rates during pressing. On the floor, the common triggers are upper-thread tension set too tight, SPI pushed to 10-12 on lighter 180-220 gsm twill, or the wrong needle such as Nm 90/14 where an Nm 75/11 or 80/12 would run cleaner. Weave defects usually start at the mill, not the sewing line: slubs, floats, reed marks, bowing, and pick-density variation in 10x10 cotton twill, chino, or 300D polyester will shift light reflection and can also throw off embroidery registration on Tajima or Barudan heads. When those faults appear across multiple bundles, the problem is systemic, not cosmetic, and the lot will rarely sew consistently from first panel set to last.
Panel shading is the crown defect buyers miss most because it passes under cool-white factory tubes and fails under daylight or 4000K retail LEDs. If the cutter mixes dye lots, or the mill cannot hold the approved lab dip to the same Pantone TCX target, adjacent panels can drift beyond Delta-E 1.5-2.0; on black, navy, olive, and stone, that makes the crown look pieced together immediately. In practice, any visible shade break at normal viewing distance should be logged as a major appearance defect under AQL 2.5. Pilling deserves the same attention on premium programs: brushed cotton, peach-finish poly, melton wool blends, and suede-touch microfiber can fuzz badly after polybag abrasion or carton vibration if the fabric was not rub-tested before bulk cutting. The other assembly-driven crown defects are panel misalignment, loose eyelet stitching, eyelet shade mismatch, and missing or undersized ventilation holes. A seam offset of 2 mm at the crown peak is already obvious on a 5-panel camper, unstable eyelet tension causes ragged stitch circles, and worn punching dies can reduce hole diameter enough to affect airflow and visual balance. Our standard practice is to treat these as symmetry and finish-control failures, not minor trim issues.
Brim defects (5 categories)
Brim geometry is the first thing a buyer notices, and it should be judged with a ruler, not by eye. On finished caps, I measure brim-tip centering off the front seam, left-right arc symmetry, and total brim length against the sealed approval sample. For standard adult baseball caps in the 58–60 cm range, a brim-tip deviation over ±2 mm or visible side-to-side arc variance over 2 mm should go straight into the cap production defects report as a major under AQL 2.5. At 3 mm off-center, the whole cap looks twisted even if the crown sewing is clean. The root causes are usually mechanical: worn steel clicker dies, mixed PE inserts at 1.8 mm and 2.2 mm in the same lot, EVA density variation, or inconsistent heat-forming temperature between day and night shifts. Once the brim is edge-stitched, rebound or re-centering almost always leaves needle tracks or puckering, so geometry defects need their own checkpoint instead of being buried under general shape comments.
Stiffness inconsistency is less obvious on a packing table, but it creates more returns than many buyers expect because the hand feel exposes mixed materials immediately. On flat-brim programs, I pull 10 pieces per lot and compare flex resistance against the approved sample; if one unit bends 15% to 20% easier, the lot already feels downgraded. In practice, that spread comes from uncontrolled brim-board thickness, mixed insert suppliers, or moisture variation in paper-based boards stored without conditioning. Poor brim stitching integrity is the other structural category that gets missed until wear testing: skipped stitches, loose bobbin tension, or failure to catch the full shell-insert-undervisor stack. On Tajima or standard single-needle brim stations, I want 6 to 8 SPI on most twill caps, clean edge capture, and no loose thread tails at the tip. Defects here usually trace to dull DPx5 needles, low presser-foot pressure, or operators feeding the curve too fast, which can open the brim edge or start delamination after carton compression.
Undervisor defects need to be split into two categories because the fixes are completely different: color mismatch and print misregistration. Color must be checked under D65 lighting against the approved Pantone TCX standard, lab dip, or strike-off; warehouse fluorescent light hides problems until the carton reaches the customer. On dark undervisors like black, navy, or bottle green, a Delta-E above 1.5 to 2.0 is normally visible the moment you compare bulk goods to the salesman sample. Printed undervisors fail for alignment, not shade. On camo, sublimation fades, or repeating logo layouts, more than 2 mm of drift off the center seam is already noticeable, and once the brim is pre-curved, that error looks worse because the white edge or broken pattern pulls into view. Our standard practice is to record these as separate cap production defects: color variance points back to dye-lot segregation and incoming fabric control, while print drift usually comes from unstable cutting, weak registration marks, or fabric stretch during transfer and sewing.
Embroidery defects (6 categories)
Embroidery is where buyers catch cap production defects first because the failure reads from 1 to 2 meters away, not just under a 5000K QC light box. The two most expensive misses are thread shade drift and color misregistration. For licensed or brand-sensitive programs, thread should be approved against a physical Pantone reference and the actual cone brand—Madeira Classic, Gunold Poly, or equivalent—not a digital mockup. In bulk, a practical control point is lot-to-lot shade variation within Delta-E 1.5; once you push past 2.0, navy, burgundy, forest, and athletic gold can visibly shift at retail. A common root cause is approving the salesman sample in imported rayon or trilobal polyester, then substituting bulk thread with a lower-cost domestic cone that has different luster and dye uptake. Misregistration is just as visible and usually easier to reject objectively. On Tajima or Barudan multi-heads, outlines and fills start to look dirty when elements drift more than 0.8 mm, especially on 4 to 6 mm lettering or narrow satin borders. Once movement reaches 1.0 to 1.2 mm, it should be logged as a major visual defect under AQL 2.5, not excused as machine tolerance. The root problem is usually bad digitizing—wrong pull compensation, poor sequencing, or underlay built for flat twill but run on brushed cotton or foam-front trucker panels. Uneven hooping, loose cap frames, and needle deflection on high-stitch-count logos make the same defect worse across all heads, so one bad sample often means the whole lot is unstable.
Coverage defects are usually digitizing failures disguised as sewing problems. Patchy fill, exposed underlay, and excessive stitch density all come from using the wrong recipe for the fabric and cap build. A fill density around 0.40 to 0.45 mm may run cleanly on stable 280 to 320 gsm polyester twill, but that same file can fail badly on washed chino, brushed cotton twill, or laminated foam fronts. If density is too open, you see pinholes and underlay strike-through; if it is too tight, the logo turns hard, shiny, and distorted, and the front crown starts to torque around the embroidery field. On ZSK heads above roughly 850 stitches per minute, poor top-thread tension or inconsistent bobbin tension accelerates the problem fast. The remaining high-frequency defects should be checked together: off-center placement, poor backside trimming, and puckering. On a standard 6-panel cap, front embroidery should typically hold within plus or minus 2 mm from the center seam and the approved logo height across the lot; anything looser gives the shelf line a visibly uneven face. Inside the crown, long jump stitches, bird's nests, and untrimmed thread tails are not cosmetic details—they snag fingers, abrade the forehead tape area, and can start unraveling in wear or carton compression. Puckering is the most structural of the embroidery-related cap production defects because it changes the silhouette of the hat itself. In practice, it usually traces back to over-dense artwork, excessive upper-thread tension, or backing weight that does not match the buckram stiffness and sweatband construction.
Patch defects (4 categories)
Patch errors are high-cost because they sit in the visual focal point and usually cannot be corrected after the crown is closed. Placement is the first gate, not adhesion. On a 6-panel cap, a front patch that lands more than 3 mm off the center seam already looks crooked on shelf; on low-profile silhouettes the distortion reads even harder because the front panel is shorter and more curved. A proper inspection is dimensional, not visual. Measure from the center seam to both patch edges, then check patch height from the visor stitch line or crown break. For a 60-90 mm patch, a realistic tolerance is ±2 mm on structured buckram-backed fronts and ±3 mm on unstructured washed cotton, where panel stretch and operator handling introduce more movement. Among common cap production defects, poor patch placement is one of the quickest ways to push an otherwise sellable lot into second-quality. Skew is not the only placement failure. Patch rotation matters just as much: even a 2-3 degree tilt is obvious once the visor line and eyelets create visual reference points. I also check edge conformity against the panel shape. A flat patch applied to a heavily curved front can bridge at the corners, creating lift after packing or during first wear. This shows up most often on thick felt, molded rubber, and multi-layer leather patches over stiff buckram fronts. Our standard practice is to approve a physical placement template before bulk sewing, because relying on chalk marks or operator judgment alone is how factories drift lot to lot. Under AQL 2.5, repeated misplacement across sizes or colorways is usually a major defect pattern, not an isolated workmanship issue.
Adhesive bleed is the patch defect buyers miss most during inline inspection because it often appears only under angled light, not under flat overhead factory lamps. Heat-applied leather, TPU, and woven patches may look clean on the table, then show a glossy glue halo after carton pressure and transit. The root cause is usually excess hot-melt film, too much press dwell, or platen settings above the adhesive window—commonly over 145-155°C on cotton twill, brushed canvas, or poly-cotton fronts. A quick floor check is to inspect under D65 lighting at a 45-degree angle and rub the patch perimeter with a clean white cloth; if adhesive residue transfers or the edge shines unevenly, the process is already out of control. Edge finish is the second reject driver, and the standards differ by patch type. Genuine leather needs sealed die-cut edges; otherwise you get fiber fuzz, grain lift, and early corner cracking after a few flex cycles. PU leather fails differently: rough cutting exposes the knit backing and makes the cap look cheap even when the stitching is straight. Woven patches should have clean merrow coverage and no loose yarn tails above 2 mm, while laser-cut or heat-cut edges must be fully sealed with no fray under light abrasion. PVC and molded TPU patches are usually a color-control problem rather than a construction problem; if the approval is Pantone Black 6 C, molded color should stay within Delta-E 2.0 under D65 before sewing. These are not cosmetic quibbles. In cap production defects, patch surface and edge quality are frequent claim triggers because they are obvious at first glance and difficult to dispute after delivery.
Sweatband defects (3 categories)
Loose sweatband attachment is a wear-failure defect, not a cosmetic nuisance, and it should be judged that way during inline and final QC. The first signals are usually skipped stitches, weak back-tacking at the overlap, seam grin along the lower crown join, and uneven bite where the sweatband is caught into the seam tape. On a structured baseball cap, the band should lie flat against the inside crown with lift under 2 mm after finger pressure; once you see 3 to 5 mm lift, the attachment is already unstable. A practical control standard is 8 to 10 SPI on the lockstitch, balanced top and bobbin tension, and no raw edge exposure at the rear opening or side seam. This category of cap production defects tends to repeat by operator, folder set, or machine head, so I would audit the single-needle post-bed setup, folder wear, and edge guiding before blaming transit compression. At AQL 2.5, a single bad shift can fail quickly because partial detachment rarely appears as an isolated piece. Material mismatch is a separate sweatband defect and buyers should treat it as a specification breach, not a subjective comfort issue. If the approved standard is 180 to 220 gsm cotton jersey, cotton terry, or cotton twill, replacing it with brushed polyester or a cotton-poly blend to save roughly $0.03 to $0.08 per cap changes absorbency, heat retention, odor performance, and hand feel immediately. The correct check is not visual shade alone, even if the color sits within an acceptable Delta-E against the approved swatch; you need to confirm fiber content, gsm, stretch, and finish against the PO, supplier declaration, and sealed sample. Our standard practice is to isolate both attachment defects and material substitutions under separate defect codes, because a secure seam does not excuse the wrong substrate.
Sweatband size inconsistency is quieter than an open seam, but it directly alters fit and is one of the more overlooked cap production defects in bulk orders. A sweatband cut short pulls the lower crown inward and can reduce effective inner circumference by 3 to 6 mm; a strip cut long buckles at the overlap, creates a pressure point on the forehead, and often distorts the rear opening on adjustable styles. On fitted caps, low-profile dad caps, and performance silhouettes with less forgiveness, more than 5 mm circumference variation within the same labeled size is already noticeable in wear. Finished-goods QC should sample across multiple cartons, then measure inner circumference, sweatband overlap length, joining angle, and stretch recovery rather than relying on one salesman sample or a single pre-production piece. The root cause is usually poor process discipline, not an unavoidable sewing variation. Common failures are die-cut strips drifting out of tolerance, mixed roll widths from different suppliers, and operators trimming by eye instead of using a fixed guide or stop. In production, sweatband strip width should typically hold within ±1.5 mm, while overlap length should stay within about ±2 mm from the approved sample; once those controls drift, the cap body can measure correctly and the finished cap will still wear wrong. This is why I separate sweatband sizing from general fit comments during inspection: if the exterior panels pass but the inside band changes the wearing size, the cap no longer meets the agreed measurement spec.
Closure defects (3 categories)
Closure failures deserve their own defect code because they pass final packing inspection and then fail the first time the customer adjusts the cap. On plastic snapbacks, inspect every one of the 7 to 8 engagement positions, especially the first and last two settings where short-shot molding, peg warp, and shallow female socket depth show up first. A compliant snap should close with even engagement force, hold a light pull of about 3 to 5 kgf, and show no whitening, edge stress, or cracked posts after 10 to 15 open-close cycles. If one strap side rides higher, skips a tooth, or releases under normal hand tension, classify it as a major defect, not a cosmetic issue. Among recurring cap production defects, this one is common on price-driven orders using recycled PP with unstable melt flow index, poor mold-temperature control, or unapproved resin-lot substitution. The second closure category is hardware appearance and fit, which matters more than many buyers admit. A snap or buckle that misses the approved shell color by Delta-E 1.5 to 2.0 is obvious under a D65 light box, especially on black, navy, and olive caps, and especially when the supplier matched to a painted chip instead of the sealed Pantone TCX reference or approval sample. Metal strapback hardware adds its own risk points: bent prongs, rough roller-bar rotation, plating scratches from bulk tumbling, and burrs that cut the strap edge during adjustment. On brushed nickel, gunmetal, and antique brass finishes, even minor abrasion becomes obvious once the cap is bagged and viewed under retail LED lighting. Functional buckle failure is normally a major at AQL 2.5; finish defects depend on the approved limit sample and whether the order is premium retail, licensed team product, or low-cost promo.
The third closure category is sewn-assembly failure on strapback and hook-and-loop systems, and this is where weak line control becomes visible fast. Loose strap attachment usually traces to low back-tack count, incorrect stitch density, poor edge turn-in, or the wrong needle size for the strap thickness. On cotton twill, brushed polyester, and microfiber straps, the attachment seam typically needs 7 to 9 SPI with clean bartacks, balanced top and bobbin tension, and no skipped stitches or seam grin under pull. A quick manual tug during inline inspection is not enough; inspectors should apply a firm seam pull on sampled units from each lot and watch for thread breakage, strap distortion, or bartack opening. Once that bartack starts to fail, fraying becomes consumer-visible within a few days of wear. Hook-and-loop closures need a separate check because the surface can look aligned while the seam underneath is weak. Open and reseal the tape several times, then inspect both tape ends for secure box-stitch anchoring, straight installation, covered edges, and clean trimming with no lint trapped in the hook field. Common failures are twisted tape, exposed cut edges, poor peel performance from loose thread contamination, and stitch lines that miss the tape reinforcement band entirely. In practical defect mapping, buyers should split closure-related cap production defects into plastic snap, metal hardware, and sewn closure codes. If everything is buried under a generic finishing note, the factory cannot isolate whether the root cause sits in injection molding, hardware plating, or sewing-line setup.
Packaging defects (3 categories)
Packaging defects are not cosmetic trivia; they create chargebacks, inbound scan failures, and customs holds even when the cap itself passes inspection. The three packaging categories that matter most are unit packing, trim attachment, and outer-carton identification. On unit packing, a torn polybag is a real defect once the split exposes the sweatband, brim edge, or crown panel to dust transfer; on pigment-washed cotton twill, brushed chino, and suede-finish microfiber, that contamination is visible fast. Most buyers specify individual bags in 0.03-0.05 mm LDPE or PP, with suffocation warning, recycling mark, and resin code printed clearly enough to read at arm’s length. For EU and UK programs, missing or blurred disposal iconography is a frequent compliance miss, and it can block retailer acceptance before anyone evaluates embroidery, seam alignment, or other cap production defects. These are pennies to control at packing line level and expensive to rework once 24 to 48 units per carton are already sealed for export.
Trim attachment defects sit in the gray zone between presentation and functionality, which is exactly why weak finishing teams miss them. A missing hangtag is obvious, but an off-center plastic fastener through the back arch, side seam, or care-label loop is just as damaging on a peg display because the cap hangs crooked and reads as second-quality. Sticker placement needs the same discipline: top-button stickers offset more than 8-10 mm, barcode labels bridging eyelets, or country-of-origin labels applied to textured fabric where adhesion drops during transit. On the factory floor, these should be controlled against a sealed packing sample with exact tag position, sticker orientation, adhesive spec, and barcode grade requirement. Outer-carton labeling is even less forgiving. If the thermal-transfer print is low contrast, the corrugate surface is dusty, or the PO, style code, color, carton number, and quantity are not legible under normal warehouse lighting, the shipment becomes hard to trace. At AQL 2.5, unreadable carton identity is a major defect in my book because one wrong master carton can disrupt inventory across an entire delivery.
Frequently Asked Questions
Do you support sustainability certifications?
Yes. We work with GOTS organic cotton, GRS-certified recycled polyester, OEKO-TEX Standard 100 fabrics, and are BSCI and Sedex audited. Certification documentation can be provided per order.
Can I order a sample before bulk production?
Yes. We strongly recommend approving a pre-production sample before mass production. Samples are charged at 35 to 60 USD each plus express shipping, fully refundable against confirmed bulk orders over 500 pieces.
What is the minimum order quantity (MOQ) for custom hats?
Our standard MOQ is 100 pieces per design and color, with sampling available from 1 piece. For complex multi-color logos or premium fabric upgrades, the MOQ can be lowered with a small per-piece surcharge.
How long does production take?
Sampling takes 7 to 12 days. Bulk production runs 20 to 30 days depending on quantity, fabric availability and decoration complexity. Inspection and packing adds another 3 to 5 days before shipment.
What logo decoration techniques do you offer?
3D puff embroidery, flat embroidery, woven patch, leather patch, PVC patch, screen printing, sublimation, applique and laser etching, all in-house with no subcontracting.
What should buyers know about cotton twill army cap kangol?
When evaluating cotton twill army cap kangol, the key considerations are construction quality, decoration capability, MOQ flexibility and lead time. Sweatband attachment loose, sweatband fabric mismatch (cotton requested but polyester delivered), sweatband size inconsistency (varies cap-to-cap within batch). The 32 defect categories below group by area of the cap (panel, brim, embroidery, etc.) and severity (critical, major, minor under AQL 2.5). Critical defects mean reject. Major defects must remain under the AQL 2.5…
How does ordering baseball cap embroidered custom work?
When evaluating baseball cap embroidered custom, the key considerations are construction quality, decoration capability, MOQ flexibility and lead time. The 32 defect categories below group by area of the cap (panel, brim, embroidery, etc.) and severity (critical, major, minor under AQL 2.5). Critical defects mean reject. Major defects must remain under the AQL 2.5 sample limit. Minor defects are tolerated within wider limits. Stitch puckering on panels, fabric weave irregularity, color shading between panels of supposedly…
How does ordering custom embroidered trucker hat work?
When evaluating custom embroidered trucker hat, the key considerations are construction quality, decoration capability, MOQ flexibility and lead time. The 32 defect categories below group by area of the cap (panel, brim, embroidery, etc.) and severity (critical, major, minor under AQL 2.5). Critical defects mean reject. Major defects must remain under the AQL 2.5 sample limit. Minor defects are tolerated within wider limits. Stitch puckering on panels, fabric weave irregularity, color shading between panels of supposedly…
What should buyers know about kangol bucket hat mens?
When evaluating kangol bucket hat mens, the key considerations are construction quality, decoration capability, MOQ flexibility and lead time. The 32 defect categories below group by area of the cap (panel, brim, embroidery, etc.) and severity (critical, major, minor under AQL 2.5). Critical defects mean reject. Major defects must remain under the AQL 2.5 sample limit. Minor defects are tolerated within wider limits. Stitch puckering on panels, fabric weave irregularity, color shading between panels of supposedly…
What are the defects of plastic bottle caps?
Types of bottle caps defects that can be detected damages (chips, cracks, scratches); deformations (pinches, bents, dents, warping, buckling, roundness loss); missing parts (absence of caps, absence of tamper rings);
What are production defects?
A production defect is any deviation in a manufactured part from its defined specification — dimensional, functional, visual or material. The definition sounds simple; in practice, most disagreements in a quality meeting come from confusing four related terms that are not the same thing.
What are common manufacturing defects?
Manufacturing defects arise during the production process, where an otherwise safe product is rendered dangerous due to errors or irregularities in its manufacturing. This might include issues such as substandard materials, improper assembly, or other deviations from the intended design.
Ready to start your custom hat project?
Send us your tech-pack, sketch or even just an inspiration photo. We will respond with a detailed quotation and digital mock-up within 24 hours.
Request a free quoteRelated guides
Launching a Hat Brand: Marketing Playbook for the First 12 Months
Read article →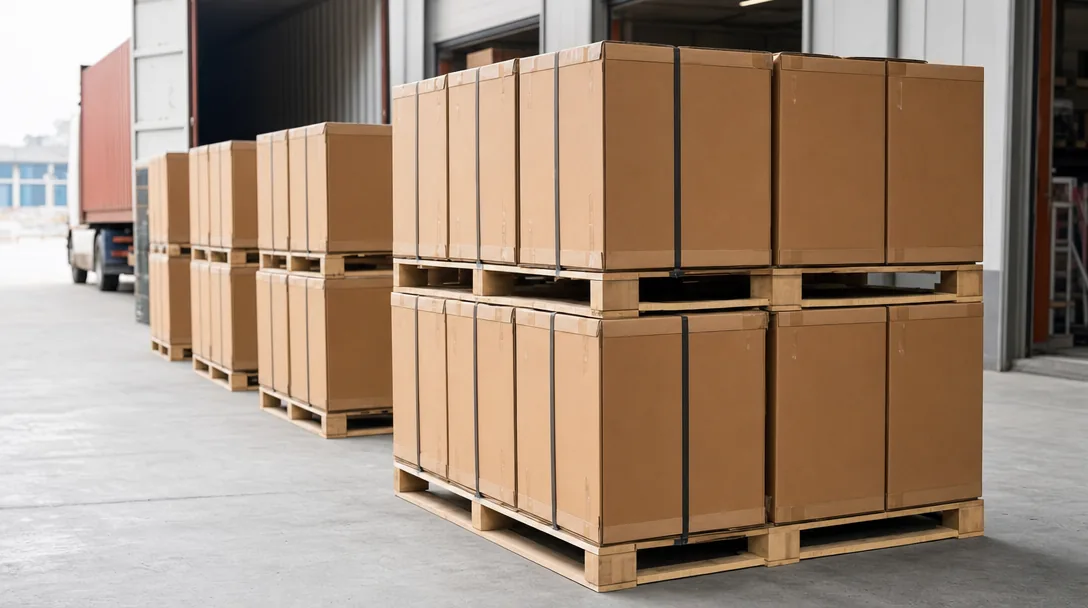
Embroidery Hats Machine: When to Use It, Costs, and What to Ask Your Factory
Read article →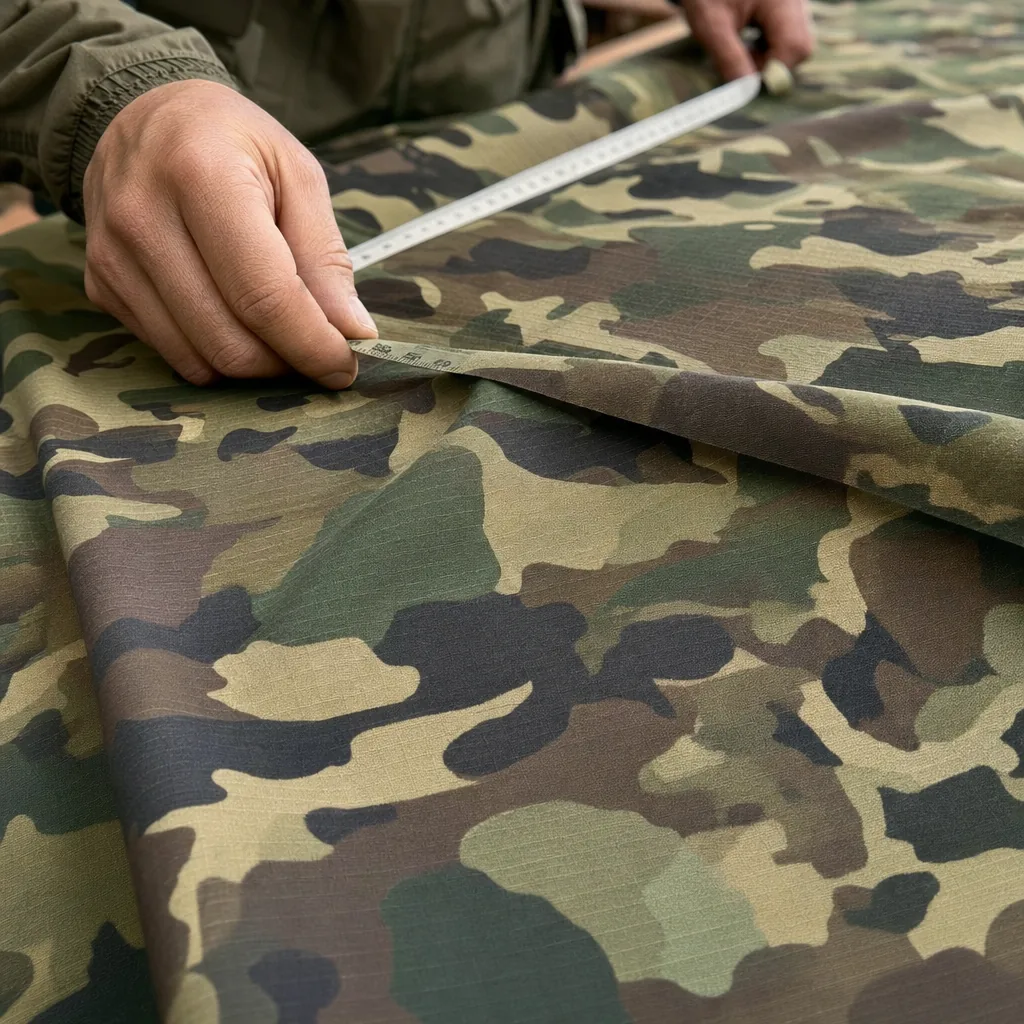
Custom Camo Hats: Hunting, Outdoor and Tactical Cap Manufacturing - Cost & MOQ Breakdown
Read article →Sourcing custom hats does not have to be complicated. With the right manufacturing partner, clear specifications and a small upfront investment in sampling, you can launch a retail-quality product in 30 to 45 days.